Showing posts with label farmsteading. Show all posts

Thursday, January 24, 2013

How to Can Dry Chickpeas, Kidney Beans, Pintos, Black Beans

I've read a lot lately about the health benefits of eating beans. Lowers cholesterol, helps maintain blood sugar, good for digestion, lots of nutrients, cheap (though incomplete) source of protein, etc.

My pantry has been stocked with dry beans forever. Every week I put them on our menu plan, and most weeks I take an alternate route because, "they take forever to cook!" Soaking the night before, a low-slow cook for most of the day, and then, worst of all, there are tons of leftovers. Why go through all the hassle just to make a small batch for the two of us? So I always make tons, intending to eat frugally on them all week.

I like beans well enough, but I've had to admit, I don't like leftover beans. There's only so much chili I can make them into, and there are only so many little containers of leftover beans I can stick in the back of the freezer for that afternoon when I tell myself, "I know! I want to eat beans today!"

The crisis point came a few weeks ago when we discovered evidence of mice in our pantry. My bag of dried split peas had bite marks all over it, so I was forced to toss the lot. I scrutinized the rest of the sacks of various dried beans but they appeared untouched, for now. "If I don't store these better, I'm going to lose them." I don't like throwing away food.

My canner called out to me.

Hm... a can of beans around here is 70-90 cents. A few pounds of dried beans (which makes seven pints) costs about the same.

And canned beans are always ready to eat... no soaking, no long cooking times, and no leftovers.

Compared to tomatoes and homemade jams, canning dried beans is really easy.

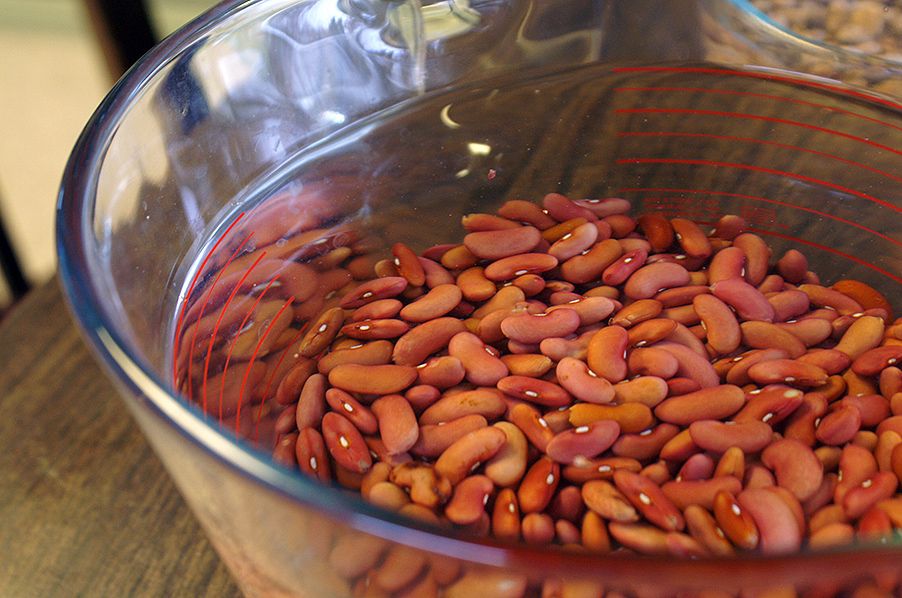
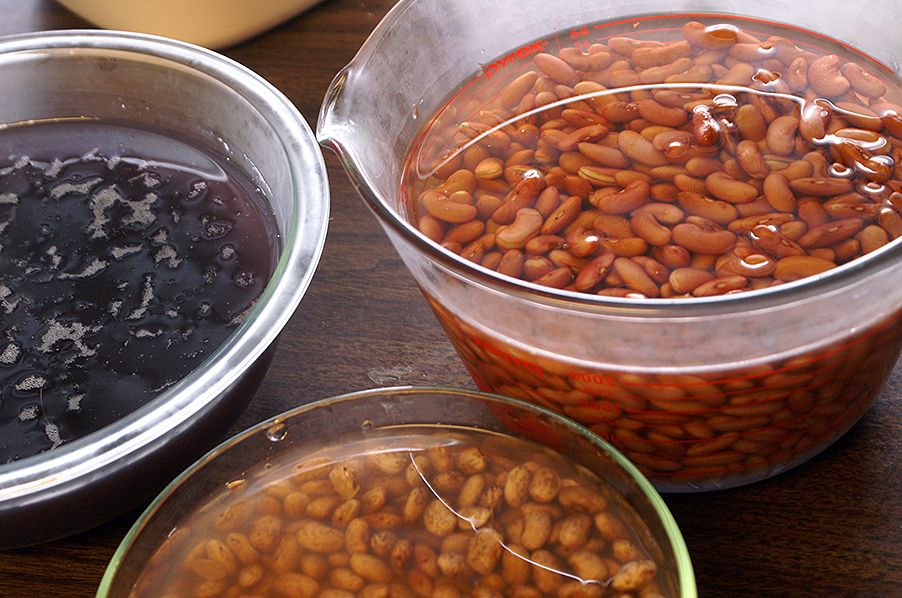
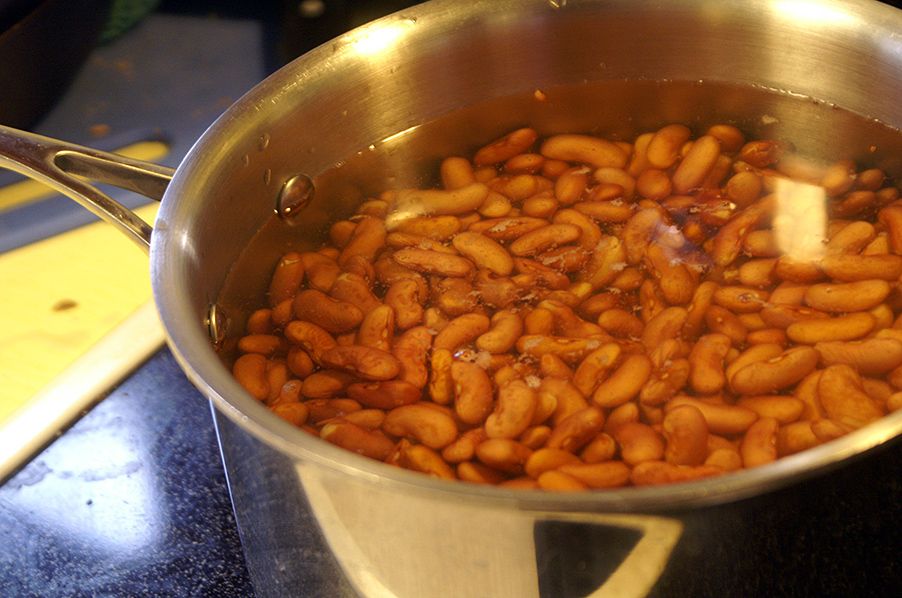
 Soak the beans in water (here I have black beans, pintos, and kidneys... I did chickpeas the next day).

I think they're really pretty.

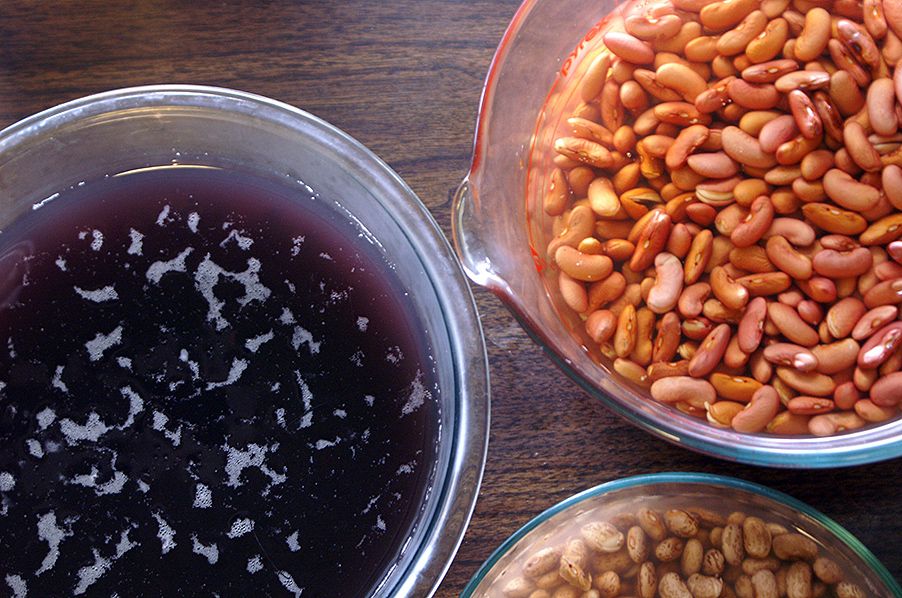
By the next morning they've about doubled in volume.

 It amazes me that the black bean water turns purple.

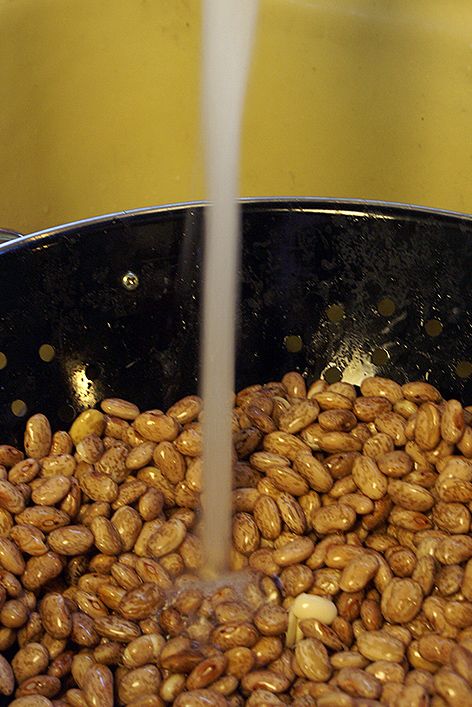
Drain and rinse the beans well. Purportedly, this helps alleviate the... uncomfortable and indelicate symptoms that many people have when they eat beans.

Cover with water and boil for 30 minutes.

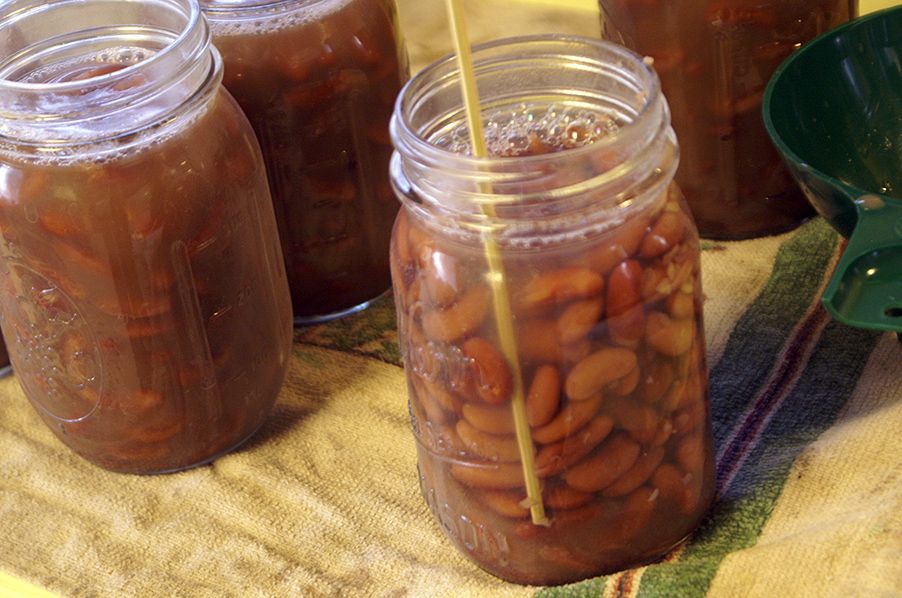
Put the beans in a jar, cover with water (cooking water or boiling water) leave 1" headspace, use a non-metal utensil (I used a wooden kebab skewer) to release air bubbles, wipe the rim, cap with sterilized lid, finger-tighten the ring.

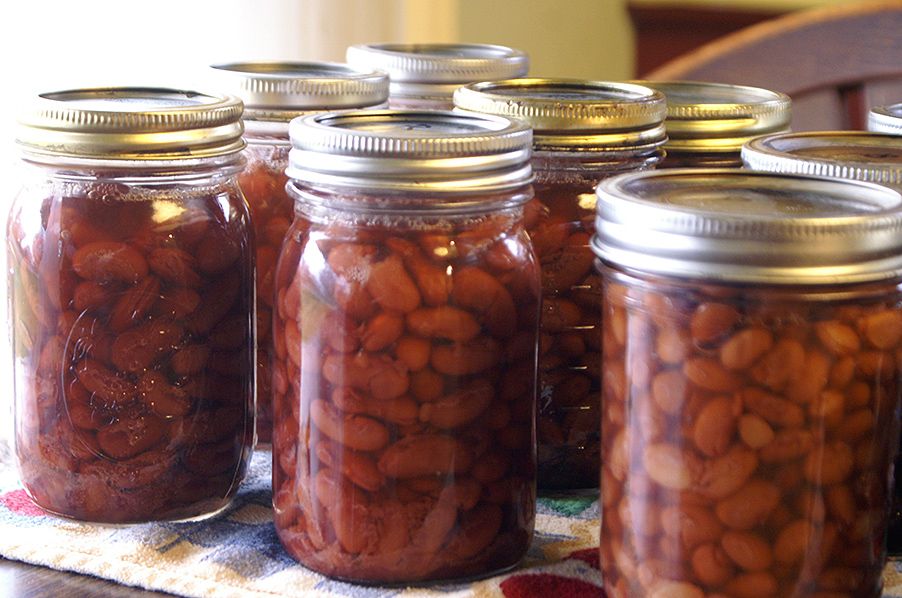
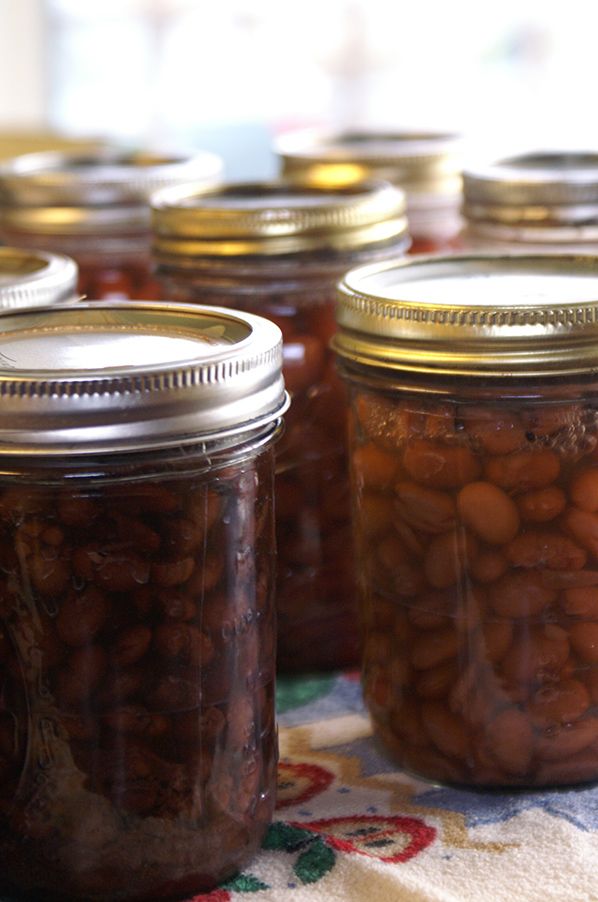
Because I was canning three kinds of beans in one batch, I labeled each jar lid with a Sharpie before processing to keep them straight... P for Pinto beans.

Process in a pressure canner 75 minutes for pints or 90 minutes for quarts. Don't open the lid of the canner until the pressure is completely down and the canner is cool to the touch (removing the lid while the canner is still warm can lead to water reduction in the jars -- if they seal they're still safe to store, but they're not as pretty).

Truly that's it.

Refried beans, red beans and rice, black bean corn salad, burritos, black bean burgers, enchiladas, chili, falafel, roasted chickpeas, hummus... suddenly my meal plan doesn't look as impossible.

How To Can Dry Beans
(like chickpeas, kidney beans, black beans, red beans, navy beans, etc.)

1. Soak beans in water (at least 2 parts water, 1 part beans) for 8-12 hours (overnight).

2. Drain and rinse beans well, put in a pot, cover with water, and boil for 30 minutes.

3. Put hot beans in warm sterilized jars, cover the beans with water (the cooking liquid or simply boiling water) and leave 1" of headspace. Run a non-metal instrument around the inside to release air bubbles, wipe the rim with a clean cloth, place a sterilized lid and finger-tighten the band.

4. Process in a pressure canner (I have always hated the direction, "process in a pressure canner," because it is so vague and non-helpful. But truly, I won't be more specific than that, because you should read your canner's manual to see how to operate it... they're all slightly different.) as follows:

For Dial Gauge Pressure Canner: 
Pints: Process 75 minutes
Quarts: Process 90 Minutes

If your altitude is: 
0-2000’ - process at 11 lbs. pressure
2000-4000’ – process at 12 lbs. pressure
4000-6000’ – Process at 13 lbs. pressure
6000-8000’ – Process at 14 lbs. pressure

Weighted Gauge Pressure Canner: 
Pints: Process 75 minutes
Quarts: Process 90 Minutes

If your altitude is: 
0-1000’ – Process at 10 lbs. pressure
Above 1000’ – Process at 15 lbs. pressure

Monday, September 10, 2012

Overachiever

"You've got to see this," my husband said, as he handed me an egg carton that wouldn't close.

"Is it a turkey egg?" I asked, bewildered at the monster-sized-egg.

"Nope, it's an overachiever."


For perspective, the egg on the bottom is an X-Large egg.


Wowzers. I wonder if that poor chicken needed an epidural.


Okay, that makes more sense.

Does anybody happen to know, if this egg had been fertilized, would the twin chicks have hatched, or would they have died? I know about double yolks, but not about twin chicks in one shell.

Tuesday, January 17, 2012

Downsized Dreams

It's cold, raining, and threatening to snow. I'm outside with loppers, frozen hands, smarting cheeks and a runny nose doing manual labor.

Rewind a week.

I was inside, snuggly warm, sipping hot tea, gushing over the hundreds of fruit tree varieties in a new, crisp, brightly colored mail-order garden catalog.

"Five apple trees, 4 pears, 2 peaches, 2 nectarines, 2 plums, 2 apricots..." I merrily hummed the order as I highlighted each appetizing selection. "Hm.. I need kiwis, honeyberries, sea berries, cranberries, elderberries, gooseberries, quince... a variety of nut trees... a few dozen each of raspberry, blackberry and bluberry bushes..."

It didn't take long before I'd highlighted myself into an $890 corner (before taxes, shipping and handling).

Burn.

I furiously schemed how I could raise the money for my fantasy farm in time to place an order, at least for next year. It took a little finagling of the budget, but I know I can do it.

Fast forward to the frozen scene.

What am I doing? Helping my husband prune a tree. A semi-dwarf fruit tree. One. Uno. A single tree. And it's hard work. And it's cold. Did I mention my frozen fingers?

"You mean I'd have to do this on 32 trees? Every year?"

Who wants honeyberries anyway?

Tuesday, August 23, 2011

Today's Tomato Tally

7 hours (counting neither my sister-in-law's tomato picking time, nor cleanup, which was substantial)

7 pints of whole canned tomatoes
11 pints of lacto-fermented salsa
14 pints of tomato sauce
1 completely tomato juice covered t-shirt

That's 4 gallons of tomatoes, in case you didn't do the math.

Goodnight.


Monday, July 4, 2011

A Farmer's Wife's Rite of Passage


 I don't like dirt.

I mean, I appreciate it. I know it's important. I know I wouldn't be alive without it. But I don't like it under my fingernails. At all. Ew.

So I can't explain what happened yesterday.

My pepper plants are floundering. They're almost the same size they were when I transplanted them two months ago. Suspecting a lack of water, I did the unthinkable.

I plunged two fingers right into the dirt. I felt around. I didn't even consider there might be creepy bugs down there. Fat slimy slugs didn't occur to me. I didn't notice the I'll-never-be-clean-again feeling of soil under my fingernails. I didn't run to the bathroom to scrub my hands.

My peppers were indeed dry.

And I can't help but feel, as a farmer's wife, I've finally arrived.

Thursday, June 23, 2011

4 Things We Learned About Raising Chicks

Well, our new little chicks are almost three weeks old now.

So far there has been no cannibalization (picking on each other and eating feathers) in this crowd, as was rampant in the last bunch. They're just fat and happy little birds.

We learned quite a bit from our first experience of raising chickens last Summer. These are just a few items I wish I'd known (despite copious amounts of research) last year:

#1: You absolutely need plenty of space in the brooder. Crowded chicks aren't happy. Those little cardboard-rolls that you see in every "chick starter kit" are useless after the first week. Start out with a great big area (ours is a 4x4 wooden apple bin).

#2: Don't be paranoid about the brooding temperature. I drove myself batty last year trying to keep the brooder at exactly 95 degrees, then 90, then 87, then 85, then 82.5, and so on. This time around we have a brooder large enough that there are hot and cold zones. We keep the heat lamp at the same height (no raising and lowering which was a mess last year) and the chicks can sit where they want -- super warm under the lamp and cooler in the rest of the area.

#3: Chick waterers need to be up on a block. Last year, the constant struggle was to keep the shavings out of the waterer. No matter how often we filled it, they'd kick shavings into it to sponge up all of the water and were, therefore, forever thirsty. It seems like such a "duh" thing, but if you put the waterer up onto a brick or a piece of wood, it stays clean.

#4: Chick waterers last exactly 2 weeks. If you order the minimum 25 chicks from most hatcheries, those nice little chick waterers will keep your chicks hydrated for about 6 hours. Yes, you can keep several of them around, but why not just graduate them to the adult waterer from the get-go? 


Sometime around the first week of November we can expect our first eggs. And this time, I hope there won't be any egg-eaters. But more on that later...

Monday, June 6, 2011

Baked Chick?

Last night at 10:30pm we went to the post office in town and picked up a batch of 27 fluffy chicks.

The time has come to replace the old flock; they're eating almost as many eggs as we are.

But the chicks weren't supposed to arrive until today, so I wasn't quite prepared for them. Our old heat lamp bulb blew out! How on earth to keep baby chicks warm all night??

Remember that little trick about raising bread? Well, it works great for an emergency brooder, as well.

Thursday, March 31, 2011

Poultry Progress

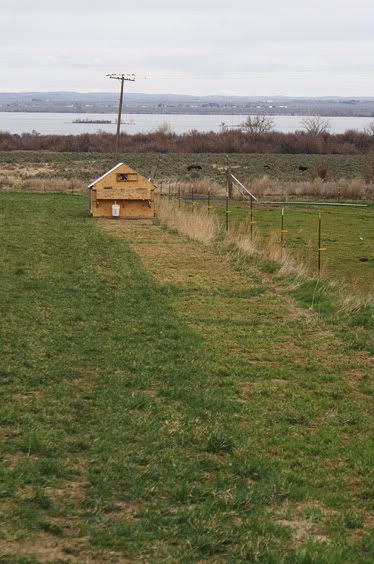
Here you can see the progress of the chicken tractor. It's moved forward each day, leaving a patch of thoroughly eaten-down grass behind as the hens are treated to greener grass and fatter grubs. Supposedly the grass will grow back a lot more luxurious thanks to the mobile fertilizer.

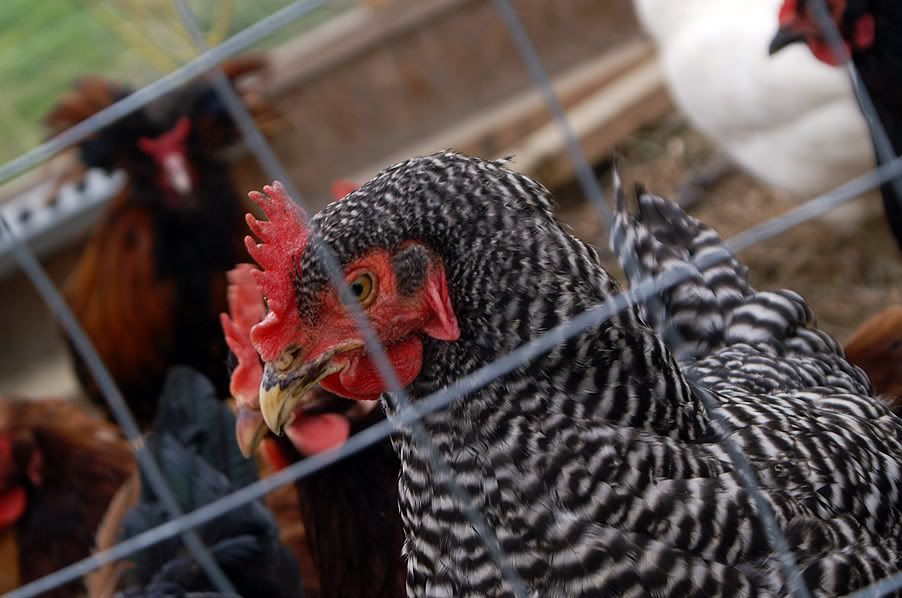
I'm really a fan of the Barred Rock hens.

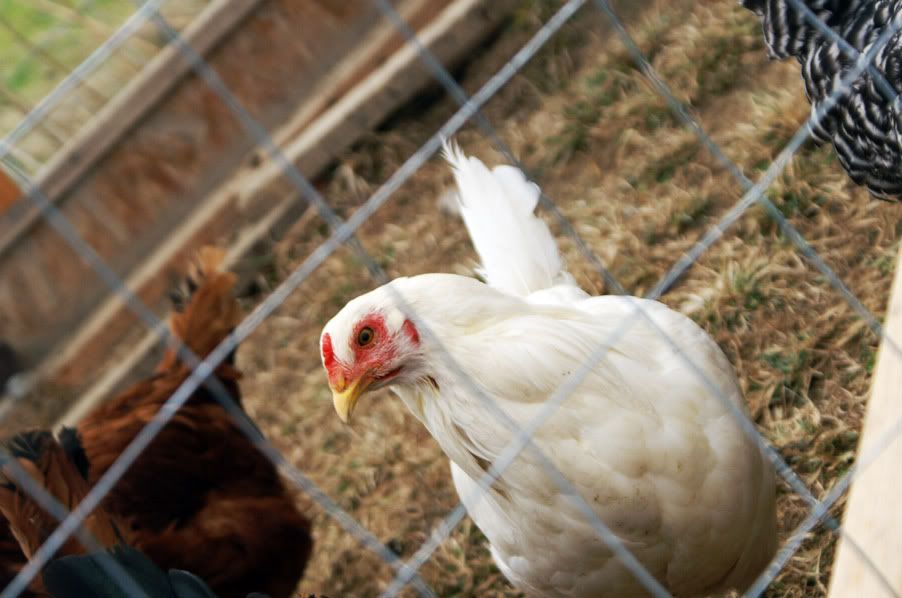
They're pretty fat and happy right now.

This chubby biddy right here lays some of the most beautiful green eggs ever.

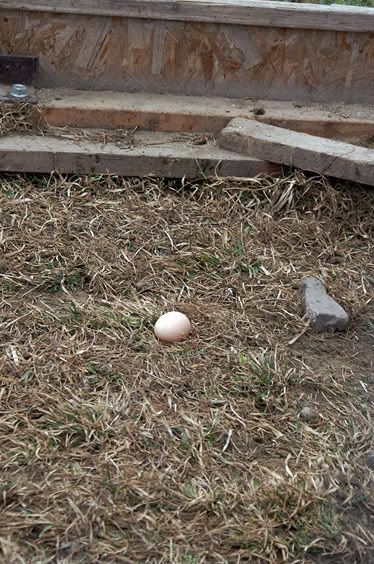
Somebody, apparently, couldn't quite make it to the nesting boxes in time. I wonder who it was...?

I won't name any names, but I have my suspicions.

Wednesday, March 9, 2011

Chicken Smack Talk

Greedy biddies were waiting on the ground beneath a hen in the nesting box as she was about to lay an egg for them.

My husband intercepted the pass and caught the egg mid-air.

Eat that cannibal chickens!

Thursday, December 2, 2010

Late Bloomers

Each of the chickens is maturing at her own pace.

We got 8 eggs today! That's a little less than 1/3 of the flock currently in production, but it's pretty exciting.

I was made for this.